my shed
Every man needs a shed, and after 15 years of having one it was time to make one. So here’s my shed story from the original idea through to what it looks like today. It would have been easy to go out and buy one, but there’s something great about creating one yourself. I’ve never built anything like this before, but alas, a shed is only a box with a roof really so how hard could it be! Here’s my story..
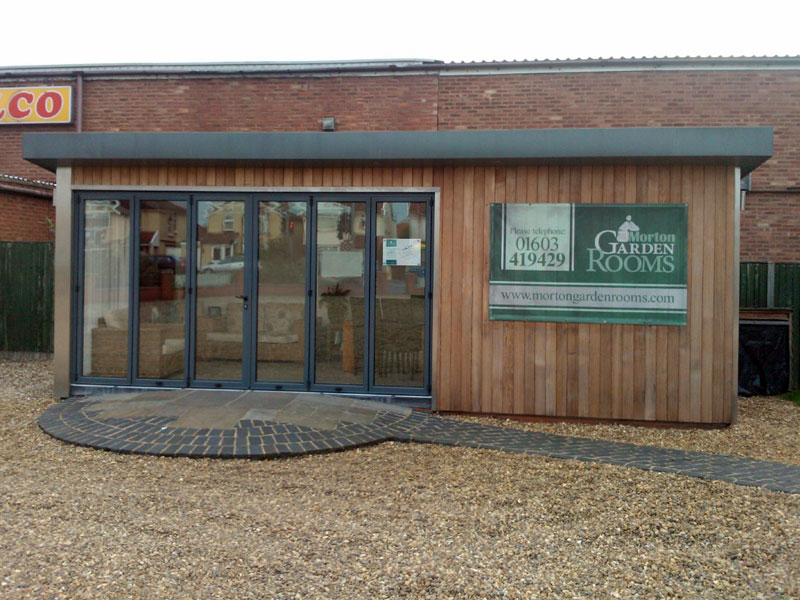
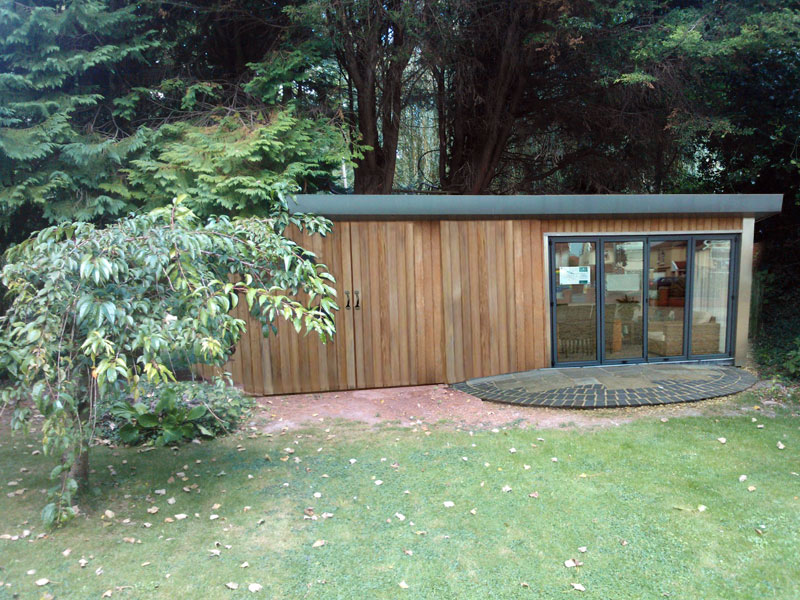
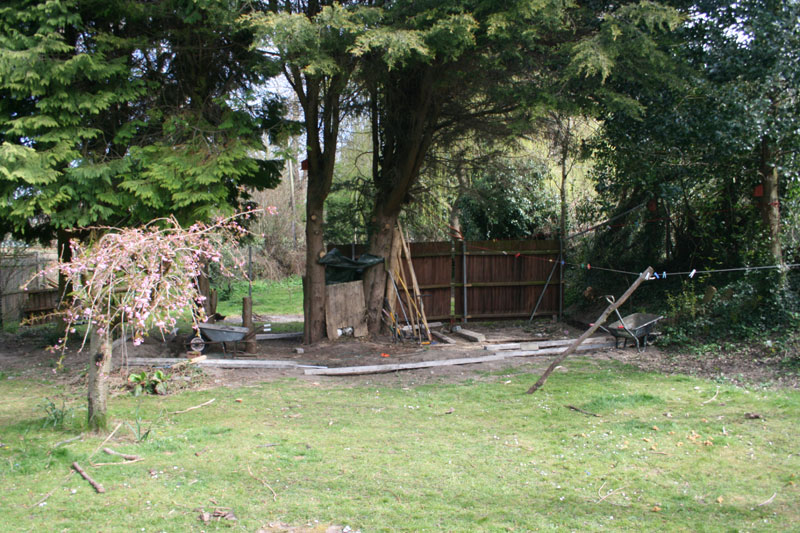
So with some jiggery pokery I took a photo of the space it would go into to see how it might look..
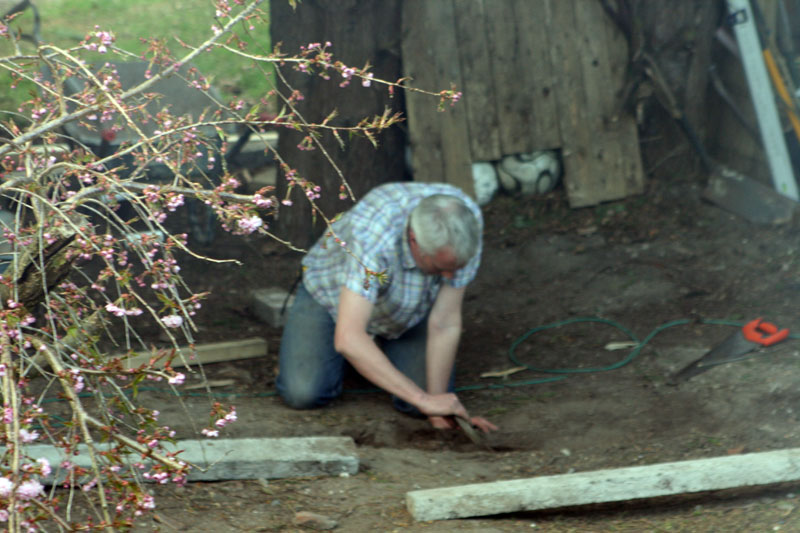
So onto doing something for real. The first things I had to do is map out the around for the foundations. I was going to use some old concrete lintels I’ve had for years as a perimeter foundation. Getting them level was tricky, but a builder friend Joss showed me how.
The next few days were pretty mucky. Digging out holes for the concrete ‘bases’ to act as anchors and reference points for the lintels. Some of which were banana shaped, which caused a big of hassle!
From a local reclaim yard, I got some double glazed, oak-framed patio doors for a bargain price of £80. With the help of one of my petrol skateboards, I managed to move the 150Kg windows into position.
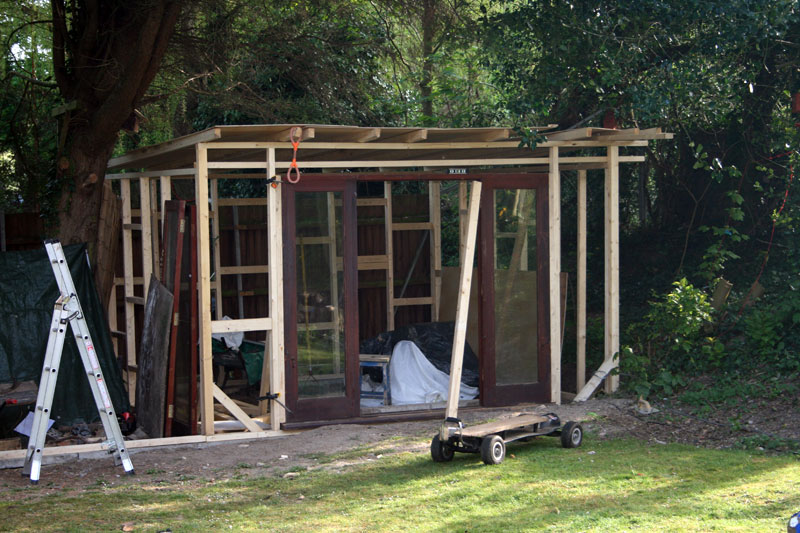
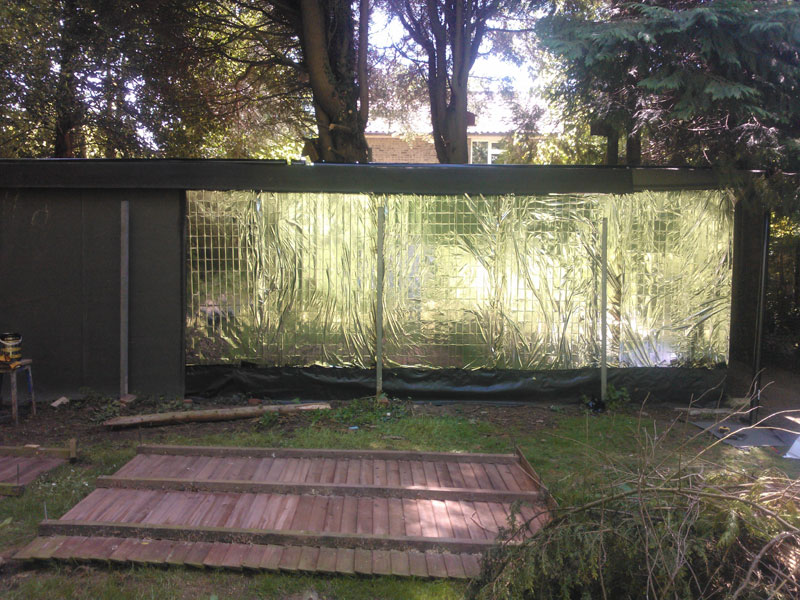
Then the shed shed side! This wasn’t going to be insulated or have a floor, but it was a bit of challenge to include the trees within them!
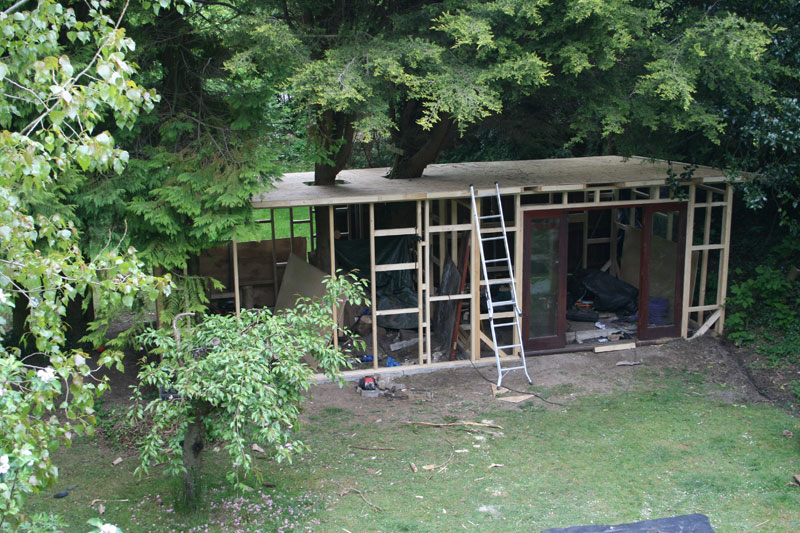

As I was doing this on a tight budget, I discovered emergency blankets can form part of the insulation and are only pennies to buy off ebay. Still till this day not sure if I stuck them on the right side!
I got some bargain reclaimed cedar planks from Kings’ Lynn. Again, another ebay bargain! Cedar is lovely, smells great, and if you hunt around can get some stuff of ebay that wont break the bank.

Note the door which again was from a reclaim yard, only £15!
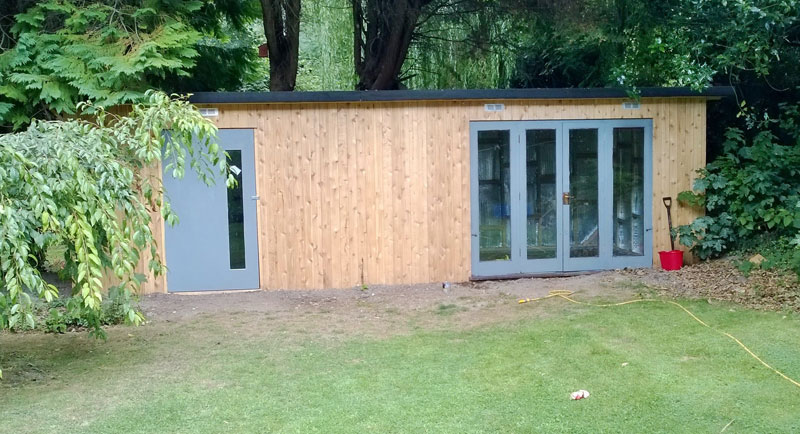
As you can see, the woodwork has been primed and I used bubble wrap foil insulation as the first step of the insulation on the interior. Again, an ebay bargain! Then on to the painting to doors and putting a decking out the front. The decking was a spontaneous idea when I came across some second hand stuff for a bargain £25. Best bargain to date, and still had loads spare.
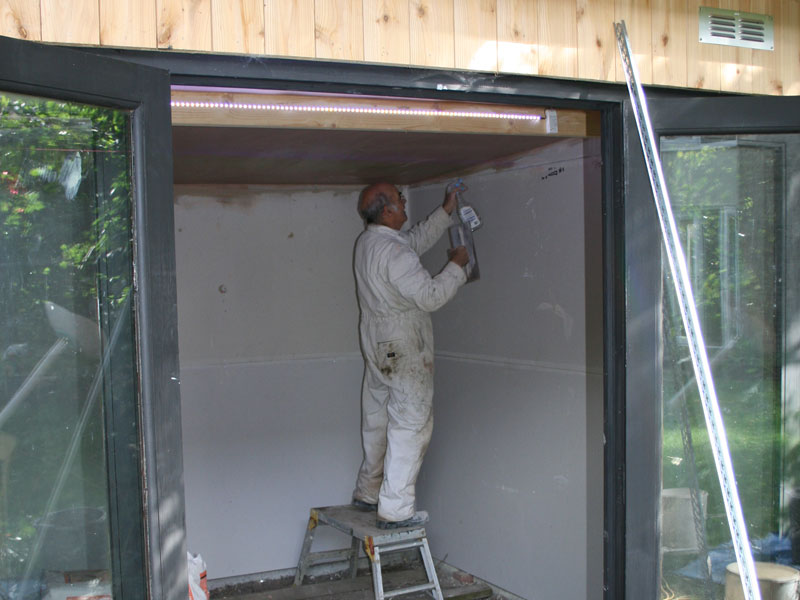
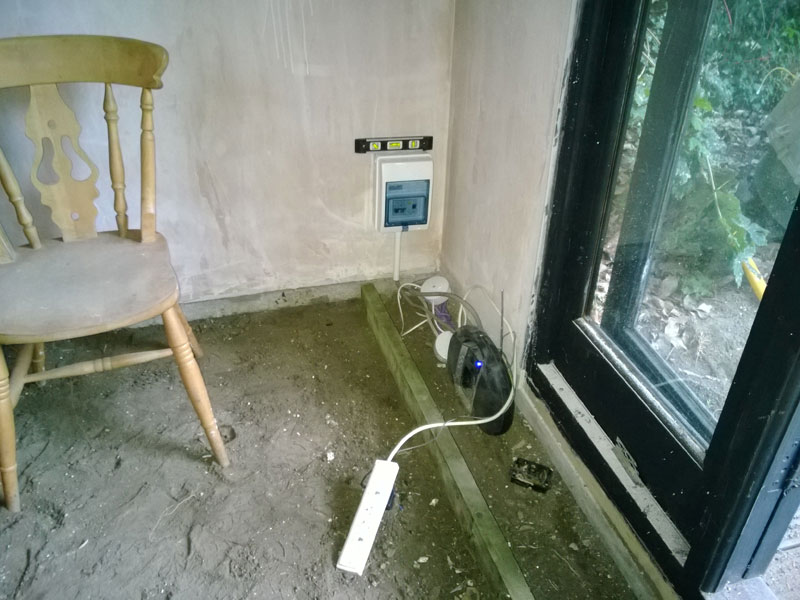
By now, I was getting a sense it wouldn’t be too long before it would be ready. So I wired up the shed (with trunking given to me by a neighbour), second hand 4mm, 2.5mm and armoured cable from a man I met at a car boot sale, and a couple of trips to screw fix. Then the interior was insulated with earthwool, further lined with OSB boards and onto the plaster boards..
Although I did most of the shed myself, there were some areas I know I dare not risk mucking it up. I had an electrician friend Reg to do the consumer unit end, and a lovely chap John to do the plastering.

As I wanted the shed to be as economical to run, I used strip LED lighting (ebay!) and as much insulation as I could find cheaply!
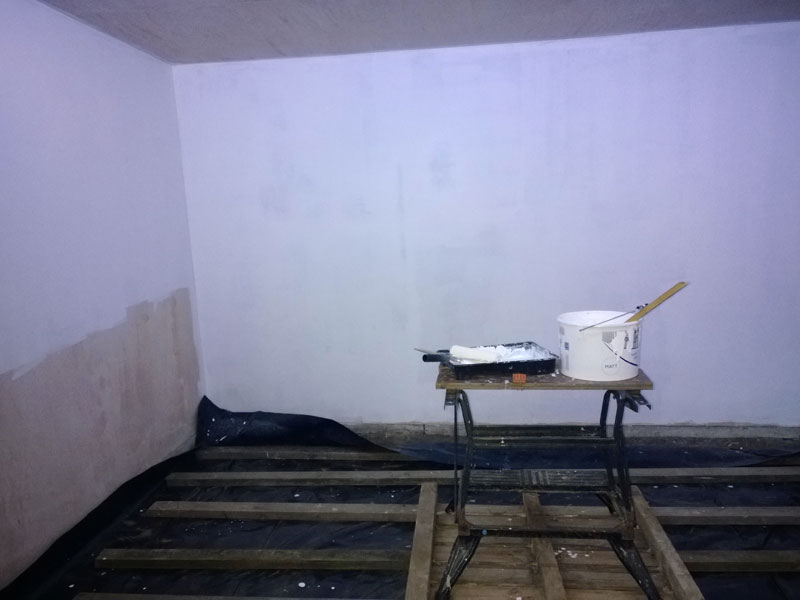
With the plastering done and dried, it was time to level the floor, lay down the membrane (given to me free from a friend Hugh).
Now onto painting, laying down the damp proofing and arranging the floor joists. All were free!
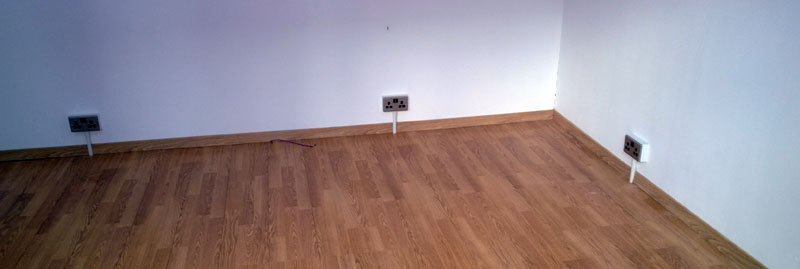
Nearly done, just mains, lighting and network wiring (all free from stuff I had in the garage) then putting down the chipboard flooring, laminate (ebay), and nearly done.
So that was it. The shed side of the build was pretty much left as it was. Enough space was left in the roof for movement of the trees using rubber skirting to keep the rain out. Last things was to add an external PIR sensor linked to some left over LED strip lighting. Futon supplied by a local villager through ebay.
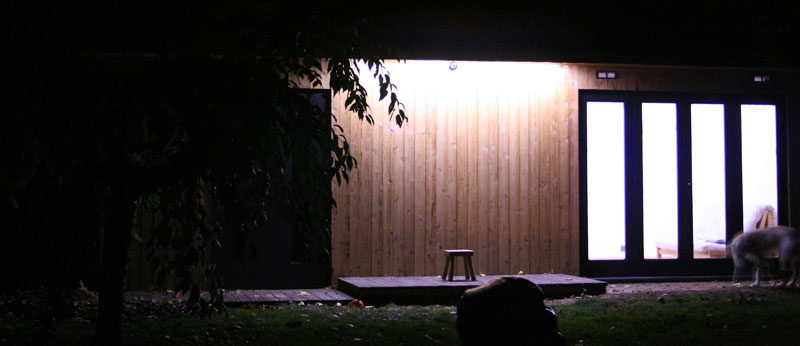
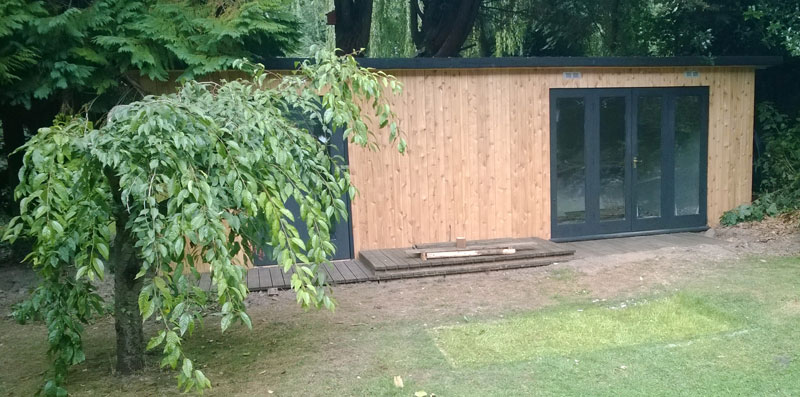
And during the day..
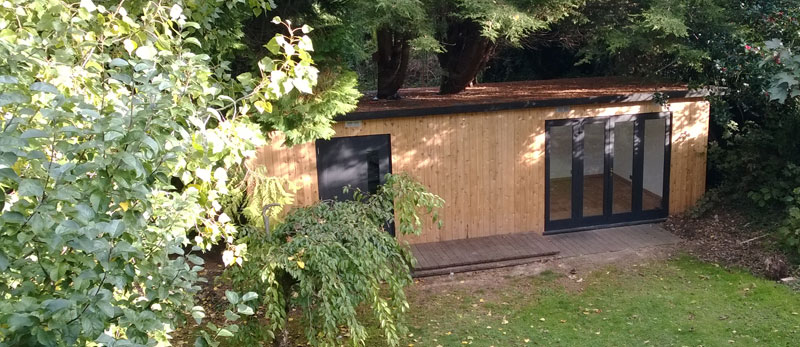
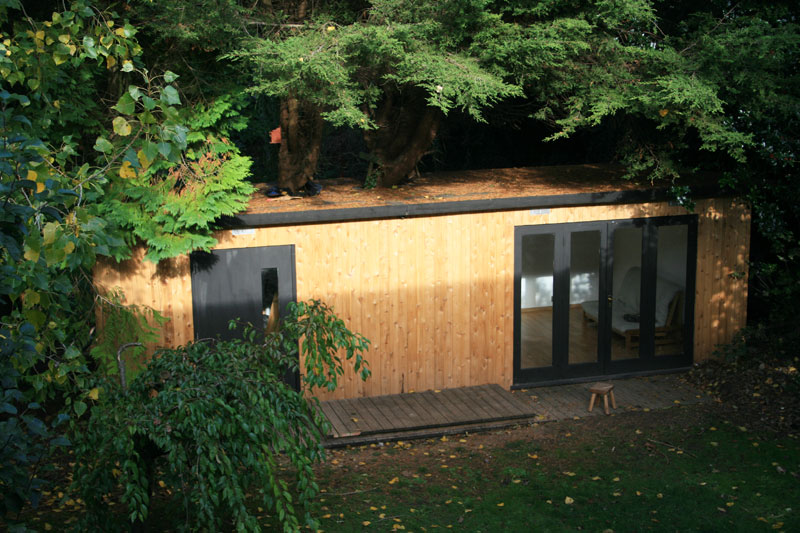
And finally!
I had the pleasure of spending my first day in my shed doing something productive on Monday 11th November 2013:


The desk was a doddle. Some reclaimed 4m lengths of timber, whitewashing using remaining white paint and water. Surprised me how you can create useful good looking furniture for next to nothing!
Next Steps:
- Install a security camera in The Den that is movement activated and works in complete darkness.
- Get the locks done on the doors.
- Install a woodburner to keep things cosey and running costs to next to nothing..
- Tidy up The Shed bit as its a mess at the moment.
- Figure out how to properly waterproof the bits around the trees.
Things I’ve learnt:
- It’s not that hard if you put your mind to it.
- You’ll learn alot along the way just by doing it.
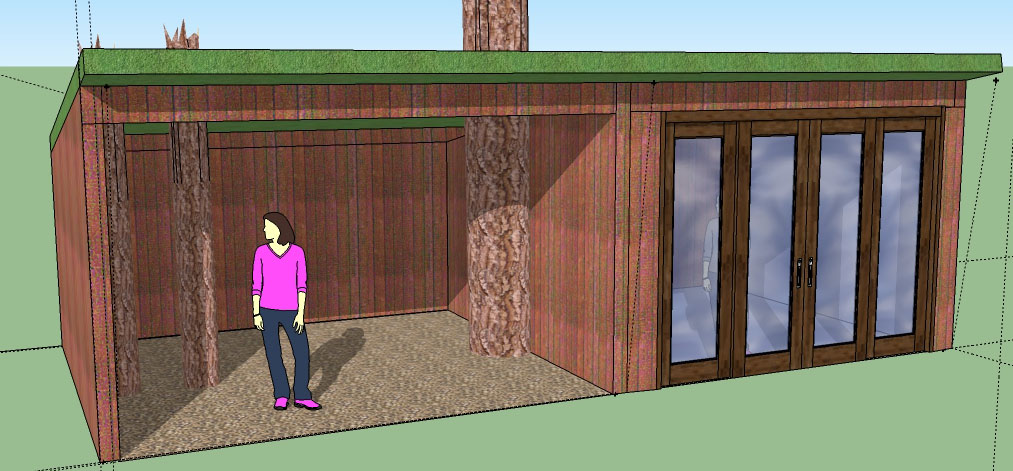
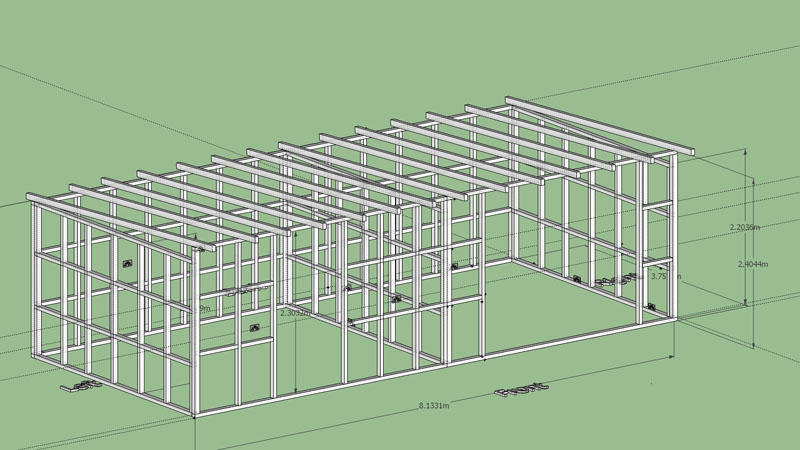
- Learning to use Google Sketchup is really useful. You can tweak computer models, get exact dimensions, material requirements etc. This saved me loads of time and money so well worth the time to do.
- Don’t use the normal DIY shops – they are very expensive. Shop around, get things off ebay if you can.
- Reclaimed wood is not always straight!
- Be patient in finding bargains, anticipate what you need to hunt on ebay/gumtree over weeks and months if you need to. Same with reclaim yards, they don’t always have what you want but if you tell them, they can call you if they get stuff you need. This saves loads of money.
- Although you can do most things yourself, I was prepared to accept my limitations on things that I know I’d mess up. Use a professional for the dangerous end of the wiring as it is good to remain alive and not do something that could potentially be dangerous!
- Hunt around for freebies.
People to thank:
- Joss Barnes for teaching me how to get foundations level.
- Reg and his supportive wife Iris for helping with the wiring.
- John the plasterer for his excellent work and conversation. Ivan Reeves for putting me in touch with him.
- Hugh Smith for the donation of the damp proof membrane.
- Jon Mullender for his design input and general encouragement.
- Ian and Lou next door for their enthusiasm and patience with all the noise I’ve made.
- Trevor Hopley for the loan of the compound mitre saw-this was an amazing blessing.
- Richard George for having a shed that inspired me to make my own.
- Robin across the road for the donation of the trunking and paint.
- All the friendly staff from Mitchells reclaim, Screwfix and Travis Perkins.
- Ebay! This would have been an expensive project without it!
- Friends and family who have supported me through a personally difficult time.
Please feel free to get in touch if you want to know how something was done etc.
-Martin 27/10/2013
